Eslint Setup
We'll cover the following...
Eslint
In the case of Eslint, our Docker job looks like the following:
Docker Job
Here the only difference is we use Build Script to build any npm modules in case the package.json file is updated by the user.
Then the code is run in the Run Script
We set the directory to /usercode as that is where we are placing all our user code in, so we install and modules needed in that directory.
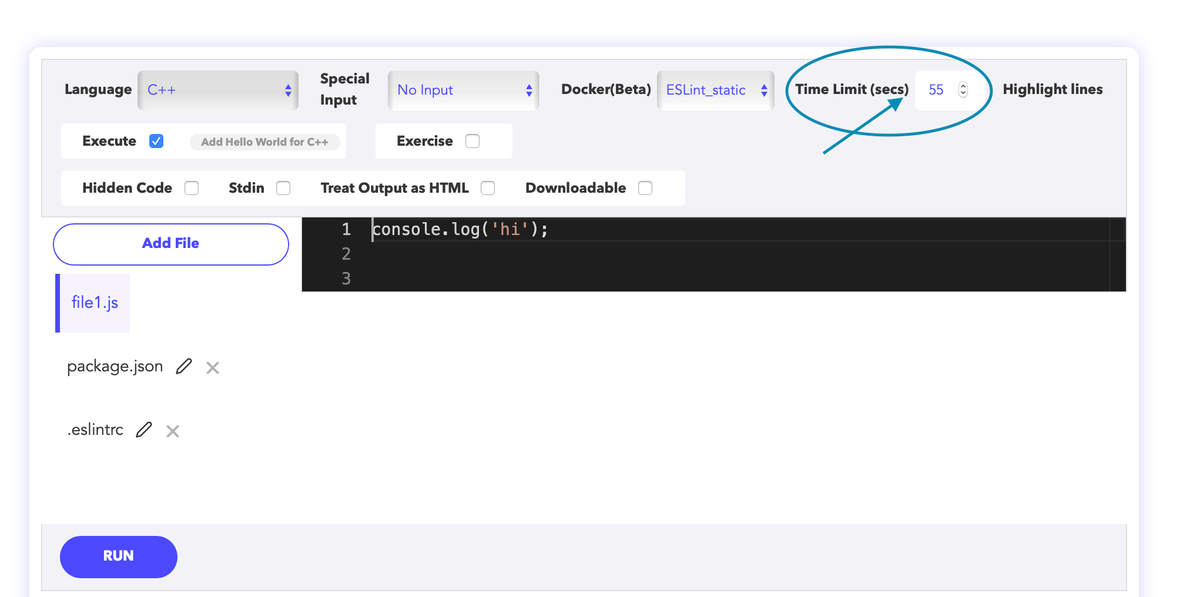
Run the below code to see eslint in action:
Note: In case of an execution time out for the above code, change time limit settings to a higher value in the code widget in your own course.
The configuration file selected is
eslint-config-airbnb
You can change this by updating the package.json file and add any associated dependencies there.
Then update .eslintrc file accordingly.
In the next lesson, we’ll set up Jest.

