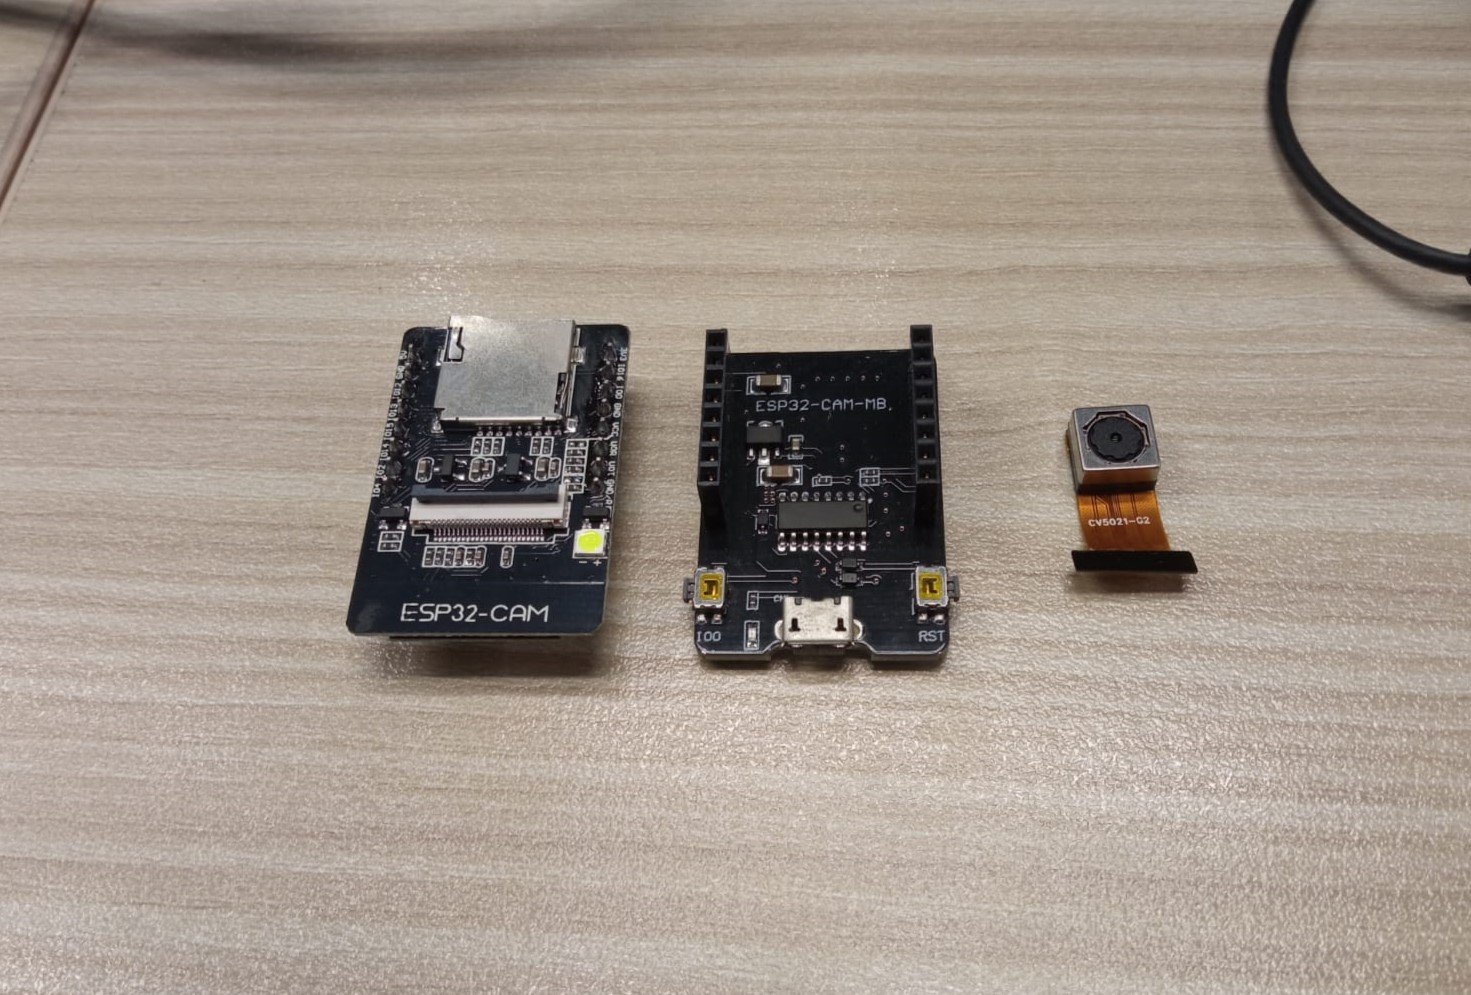
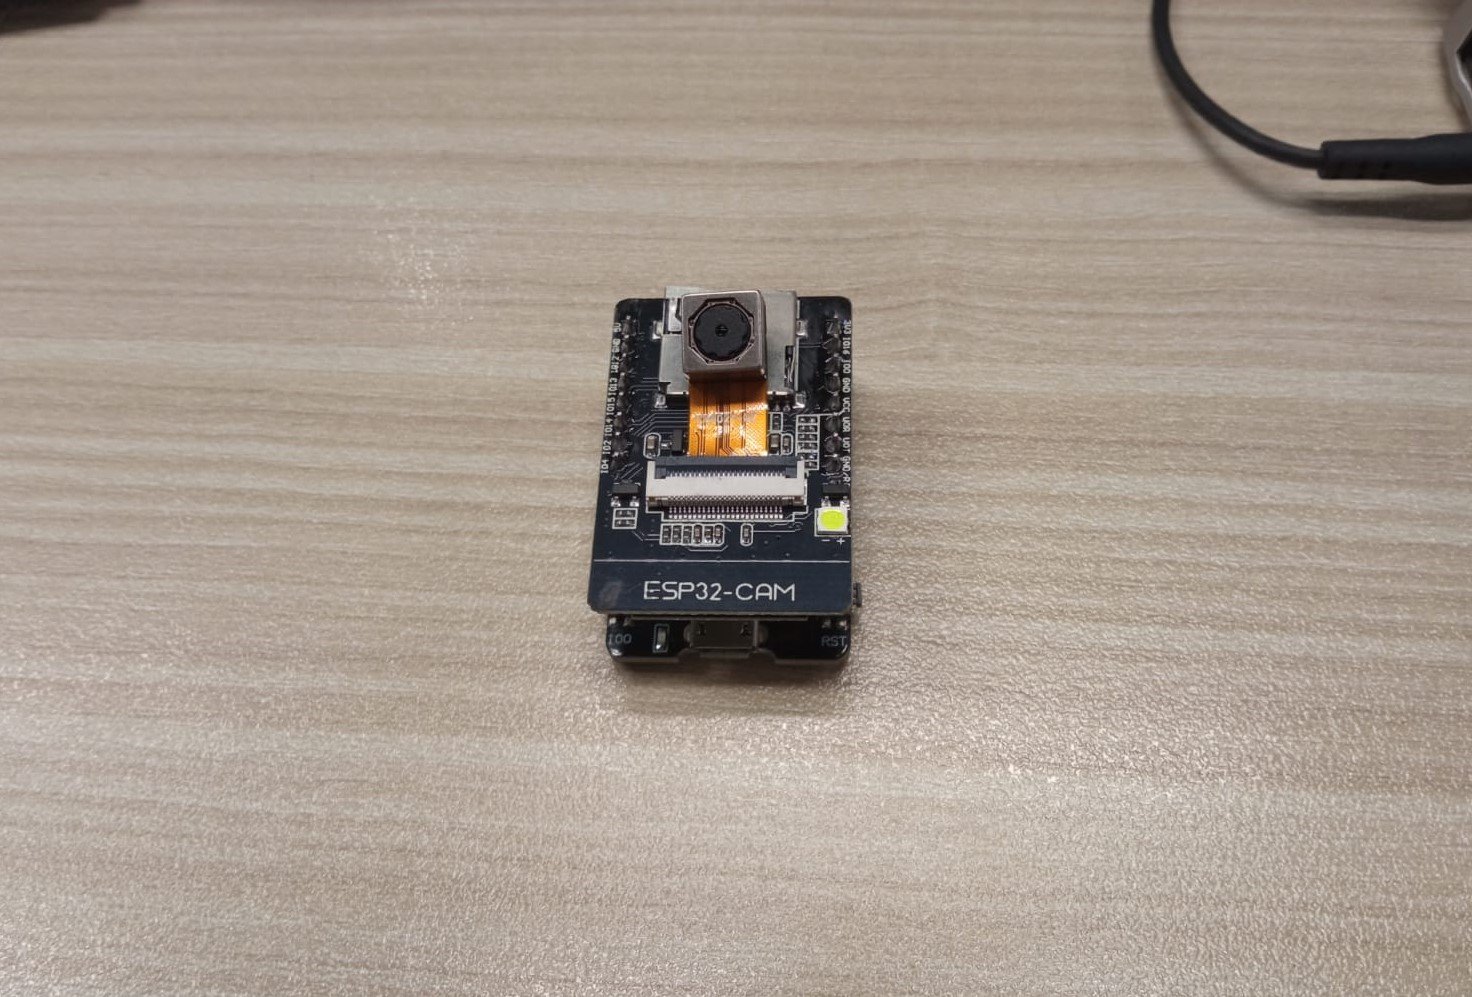
ESP32 cam setup
ESP32 cam is an IoT device equipped with a camera sensor, allowing image and video capture directly from the board. ESP32 cam is a low-cost module with a built-in Wi-Fi chip to establish an internet connection.


Software setup
To set up the ESP32 camera module, we need the following software:
Arduino IDE
CH34x derivers
Arduino IDE
Arduino is a popular
sudo apt install arduino
CH34x drivers
For Windows, go to WCH's official website and download the setup. As for the Linux systems, check if you already have these drivers installed by executing the following command:
lsmod | grep ch341
If it doesn't show any output, you do not have the drivers installed in your system. In this case, install the required packages using the command below:
sudo apt install build-essential linux-headers-$(uname -r)
Now, visit WCH's official website and download the setup to proceed with further installation. After completing this, you can run the following command to check if the drivers have successfully been installed:
lsmod | grep ch341
Getting started with the ESP32 cam
Connect your ESP32 cam board with your PC.
Open the Arduino IDE.
Click on the File option from the top menu.
Go to the Examples option, then select ESP32. After that, click on Camera, and finally CameraWebServer. Once you choose this option, a file will appear on your screen. Save this file to a desired location.
In the initial lines of the example code (where camera models are defined), comment everything except
#define CAMERA_MODEL_AI_THINKER.Change the
ssidandpasswordaccording to your WiFi router.Go to the Tools –> Board: "AI Thinker ESP32-CAM" –> ESP32 Arduino and select the AI Thinker ESP32-CAM option.
Click on the arrow button in the upper-left corner of the screen to burn the code on your ESP32 cam and run it.
Your serial monitor will show a link to view the live video stream. The following window will appear once you click on that link:
Enable the "Start Stream" button to view the live stream. Your live stream will be viewed as follows:
Note: To view the live stream of your camera on another device, you must connect that device to the same Wi-Fi network your ESP32 cam is connected to.
Free Resources