How to add README files to your GitHub repository
Introduction
Documentation is the process of making sense of our code. When we hear technical documentation, we might think of dry literature that is difficult to understand. However, good documentation is not dull or unapproachable—often, it is written in plain English!
Sometimes, it is even written as a series of guides or tutorials. Most libraries have documentation with examples that help people use their codes, and if the documentation is not there, it makes for a hard time. For open-source softwares, it helps contributors understand the concept and contribute to it. We might not remember everything while writing over codes, that is why it is important to have a reference for it.
As we examine each of the README files, take note of the following:
- What information is being communicated?
- How is this information structured?
- Do you notice any patterns?
Anatomy of a README
- Enough content of your code to keep it up and running.
- It should carry the spirit of your projects.
- Include every important info necessary and related to your code, such as installation, usage, technologies.
- What steps needs to be taken?
- What should the user already have installed or configured?
- What might they have a hard time understanding right away?
- How to get started and the installations involved.
How to add a README to your GitHub
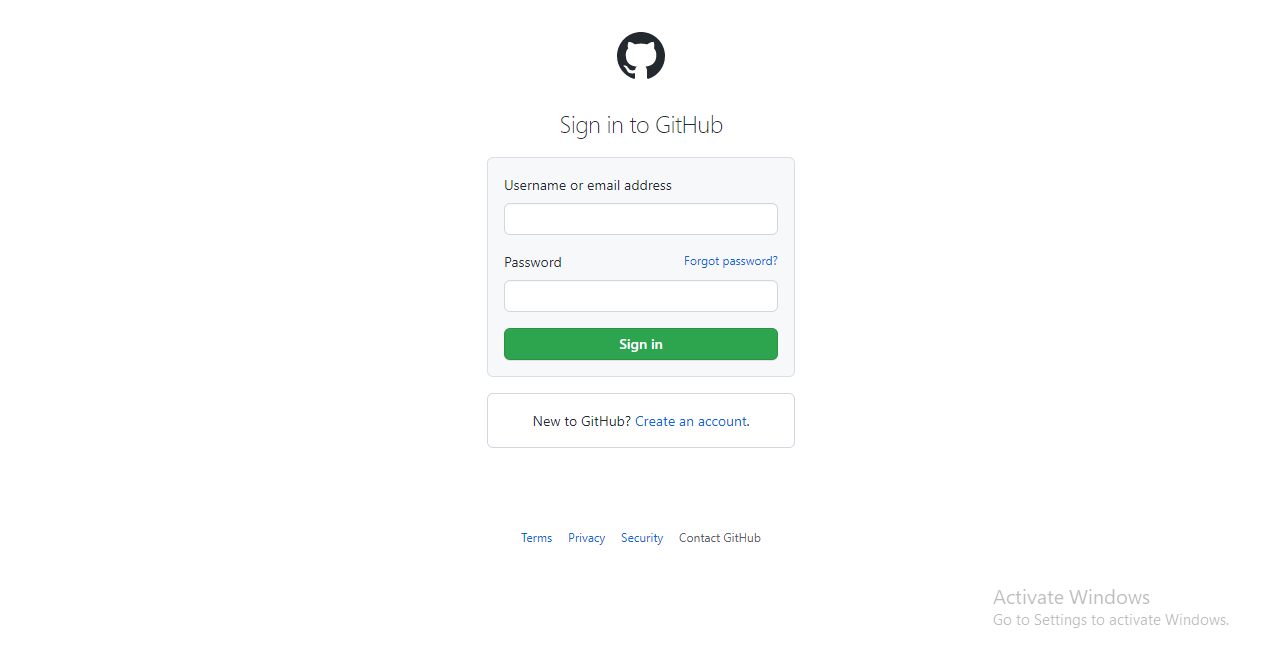
- Sign in to GitHub if account already exist or sign up for a new account,
-
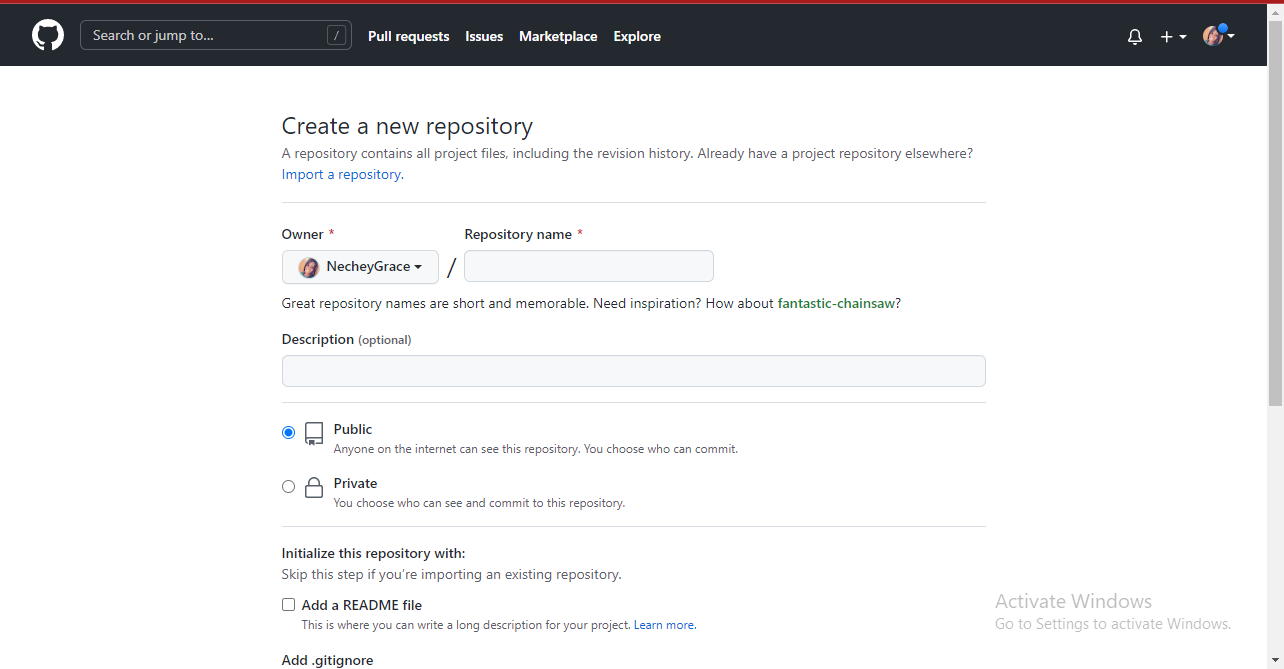
Create a new repository.
-
Select the README box and commit changes.
- In your Repository, edit the README file, and add your proper documentation.
Note: There is a Markdown syntax laid down for writing
.mdfiles to add headings, paragraphs, links, images and so on for proper structure.


