How to create a screen recorder in JavaScript
In JavaScript, we can use the MediaDevices and MediaRecorder interfaces to record the user’s screen.
The MediaDevices interface asks the user to select and grant permission to capture the contents of a display or a portion of the screen.
The captured data is a MediaStream, which can be recorded using the MediaRecorder interface of the MediaStream Recording API.
- The MediaDevices interface captures a user’s screen or window as a MediaStream.
- The MediaRecorder interface records the captured MediaStream.
Steps to record the screen
- Ask the user to select the input source (screen or window) to record.
- Create a MediaRecorder to store the MediaStream.
- Store once the screen recording has stopped.
1. Ask the user to select the input source
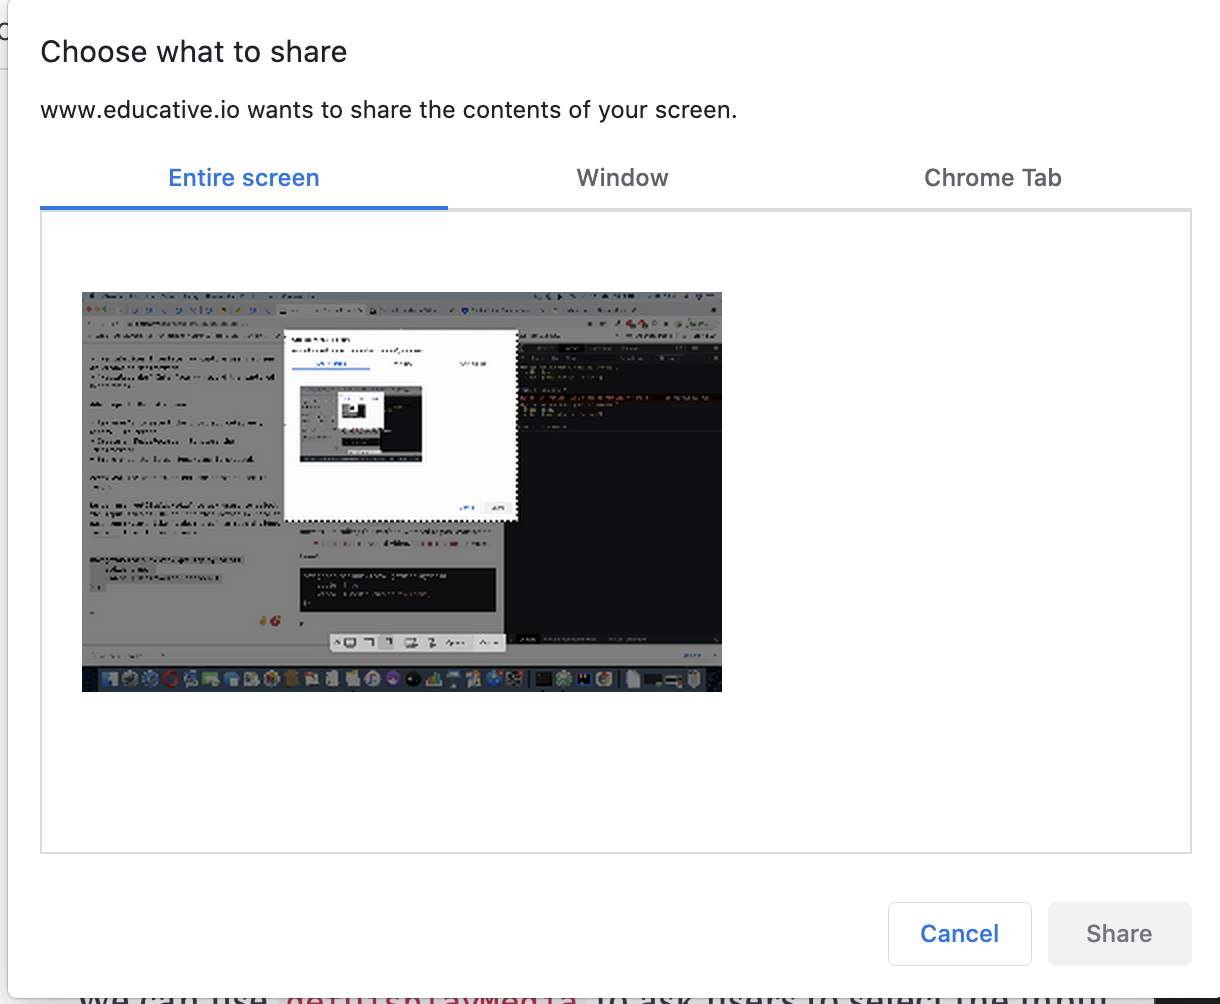
We can use the getDisplayMedia method to ask users to select the screen to be recorded. We can also choose a specific browser tab.
getDisplayMedia is an asynchronous method that returns a promise. Upon resolving the promise, we will get a recorded stream of data.
async function recordScreen() {
    return await navigator.mediaDevices.getDisplayMedia({
        audio: true,
        video: { mediaSource: "screen"}
    });
}
The above code will ask you to select the display to be recorded.
2. Create a MediaRecorder to store the MediaStream
The getDisplayMedia method will return a stream. We will use that stream to create a MediaRecoreder and record the video. The MediaRecorder has:
- A
startmethod to start recording media. - The streamed data, which is received in the
dataavailableevent. - A
stopmethod to stop recording.
function createRecorder (stream, mimeType) {
  // the stream data is stored in this array
  let recordedChunks = [];

  const mediaRecorder = new MediaRecorder(stream);

  mediaRecorder.ondataavailable = function (e) {
    if (e.data.size > 0) {
      recordedChunks.push(e.data);
    }
  };
  mediaRecorder.onstop = function () {
     saveFile(recordedChunks);
     recordedChunks = [];
  };
  mediaRecorder.start(200); // For every 200ms the stream data will be stored in a separate chunk.
  return mediaRecorder;
}
3. Store once the screen recording is stopped
We can stop the recording with the MediaRecorder’s stop method. Once the recording has stopped, we get the stop event on the MediaRecorder where we send the recordedChunks. From the recordedChunks, we create a blob and download it.
function saveFile(recordedChunks){

   const blob = new Blob(recordedChunks, {
      type: 'video/webm'
    });
    let filename = window.prompt('Enter file name'),
        downloadLink = document.createElement('a');
    downloadLink.href = URL.createObjectURL(blob);
    downloadLink.download = `${filename}.webm`;

    document.body.appendChild(downloadLink);
    downloadLink.click();
    URL.revokeObjectURL(blob); // clear from memory
    document.body.removeChild(downloadLink);
}
Now, let’s call the functions created above.
let stream = await recordScreen();
let mimeType = 'video/webm';
let mediaRecorder = createRecorder(stream, mimeType);
// After some time stop the recording by
mediaRecorder.stop(); // this will ask for file name and save video
Code
The complete implementation can be found below:
