How to implement the home screen in a React Native project
Pre-requistive: How to set-up firebase in React Native project
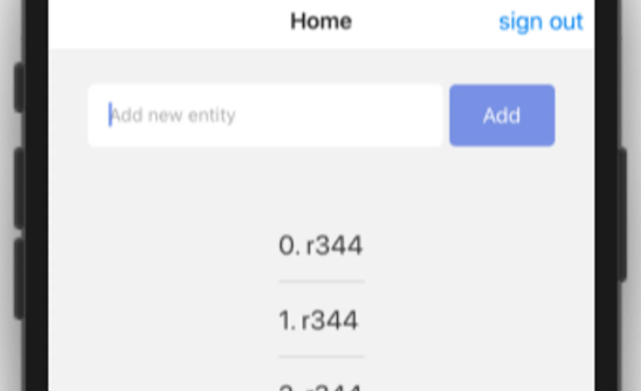
For the home screen, we will provide some simple input and a button in order to create a list:
Let’s break down what we have to do on this screen.
First, we need to import the necessary components, as shown below:
import React, { useEffect, useState } from 'react'import { FlatList, Keyboard, Text, TextInput, TouchableOpacity, View } from 'react-native'import styles from './styles';import firestore from '@react-native-firebase/firestore'
Next, we will start to define the initial state variable and Firebase instance:
export default (props) => {const [entityText, setEntityText] = useState('')const [entities, setEntities] = useState([])const entityRef = firestore().collection('entities')const userID = props.extraData.id
userIDis an extra prop that we need to pass when authentication is successful.entityRefis a Firestore object reference to entities’ collection
After the screen successfully loads, we will start to load current user data and store them in the local state variables:
useEffect(() => {entityRef.where("authorID", "==", userID).orderBy('createdAt', 'desc').onSnapshot(querySnapshot => {const newEntities = []querySnapshot.forEach(doc => {const entity = doc.data()entity.id = doc.idnewEntities.push(entity)});setEntities(newEntities)},error => {console.log(error)})}, [])
The code for the UI part includes a simple FlatList component, as shown below:
return (<View style={styles.container}><View style={styles.formContainer}><TextInputstyle={styles.input}placeholder='Add new entity'placeholderTextColor="#aaaaaa"onChangeText={(text) => setEntityText(text)}value={entityText}underlineColorAndroid="transparent"autoCapitalize="none"/><TouchableOpacity style={styles.button} onPress={onAddButtonPress}><Text style={styles.buttonText}>Add</Text></TouchableOpacity></View>{entities && (<View style={styles.listContainer}><FlatListdata={entities}renderItem={renderEntity}keyExtractor={(item) => item.id}removeClippedSubviews={true}/></View>)}</View>)
We will need to have another function to organize the FlatList items, as shown below:
const renderEntity = ({ item, index }) => {return (<View style={styles.entityContainer}><Text style={styles.entityText}>{index}. {item.text}</Text></View>)}
Add Item
In order to add a new item, we need to add a new function. First, we need to get the timestamp and construct a new object. Then, save it on Firebase Firestore, as shown below:
const onAddButtonPress = () => {if (entityText && entityText.length > 0) {const timestamp = firestore.FieldValue.serverTimestamp();const data = {text: entityText,authorID: userID,createdAt: timestamp,};entityRef.add(data).then(_doc => {setEntityText('')}).catch((error) => {alert(error)});}}
Now, when we click on “add new item,” nothing will happen. However, we will see bundle logs in the terminal, which are Firebase errors.
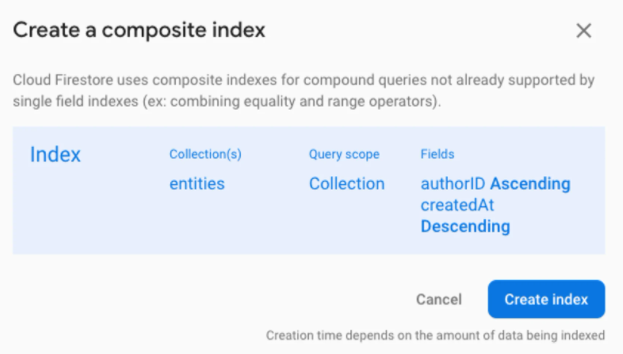
Due to this, we will need to create an index for each item. The error logs are shown below:
This is nothing special, we can just navigate the link and create an index as shown below:
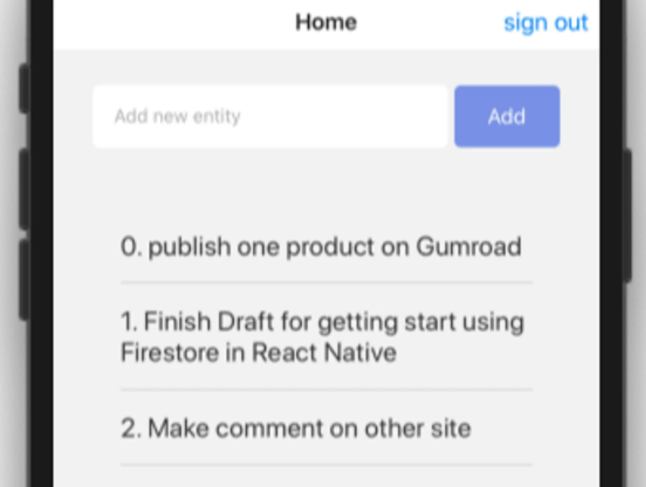
Now, the data is properly fetched as shown in the emulator screenshot below:
Free Resources


