How to install NetBeans IDE on Mac
What is NetBeans?
Apache NetBeans is a Java-based
You can install Apache NetBeans IDE on all the operating systems that support Java, including Windows, Linux, and MacOS. This shot will provide step-by-step instructions about how to install NetBeans IDE on MacOS.
Prerequisites for installing NetBeans
Java Development Kit (JDK)
To install NetBeans on your Mac, you should already have JDK version 8 or 11 installed.
To verify if you already have a JDK installed on your Mac, run the following command:
java --version
You should see an output similar to the one below:
openjdk 11.0.11 2021-04-20
OpenJDK Runtime Environment AdoptOpenJDK-11.0.11+9 (build 11.0.11+9)
OpenJDK 64-Bit Server VM AdoptOpenJDK-11.0.11+9 (build 11.0.11+9, mixed mode)
MacOS version 10.14.4
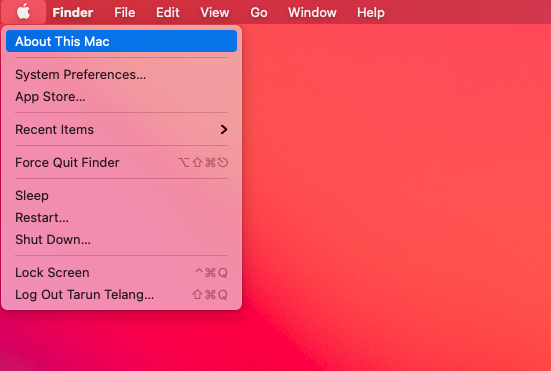
Your MacOS version should be 10.14.4 or later. Otherwise, you will also need to install Swift 5 Runtime. You can verify the MacOS version by clicking on the “About This Mac” option (as shown below) from the Apple menu on the top left of your desktop.
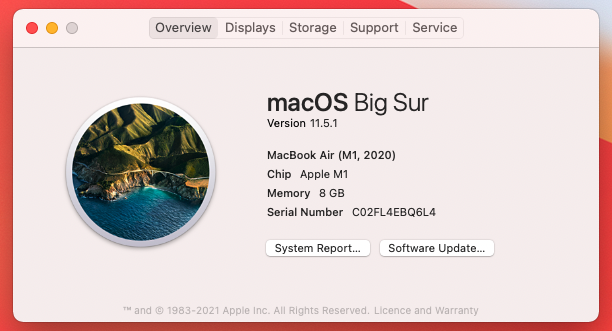
You will see the following dialog with the OS details.
Downloading Apache NetBeans installer
Visit the
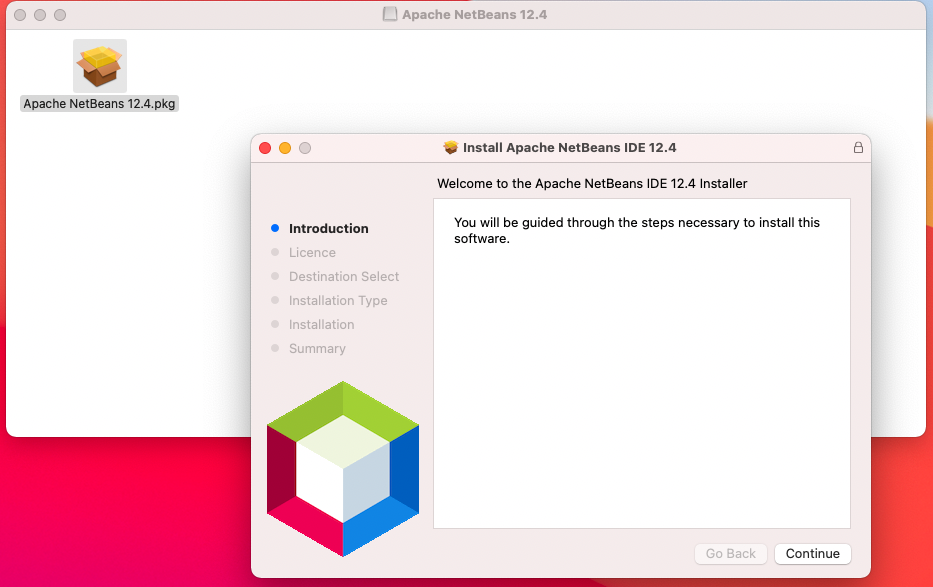
Double click on the downloaded file and follow the steps as instructed on the installation wizard.
On successful completion of the installation, you will see a success message.
Open up your Applications folder in Finder and launch “NetBeans” from there. You should see the NetBeans splash screen, and the IDE should get launched within few seconds.
Now you have successfully installed Netbeans IDE on your system!
