How to set up Chrome OS for web development

Starting anything can be really daunting – there’s always a lot to worry about. Say, for example, I needed to start a provision store. I’d be worried about how much it would cost to get a shop, what security technology to implement, whether or not I’d have workers, how many workers I would have, they’re work ethic… the list is endless.

A few months back, I got the Samsung Chromebook XE303C12, and, when it arrived, I found myself asking the same question you all are probably asking yourself; “How on earth do I code on this thing?”
I found some materials online, but they seemed to be all over the place; so, I decided to put it all together, the way I would have wanted them.
This shot will deal with the following major steps:
- Enable developer mode
- Before we get our hands dirty (Caret, CodePad, Quantum, Zed)
- Chromebrew (Crew)
- Install Linux with Crouton
- How about an IDE?
- Specific stack?
Enable developer mode
In developer mode, you have more control over your Chromebook and can basically mess around with it (as well as mess it up). This process will completely wipe all the data on your PC, so you might need to backup.
To put your Chromebook in developer mode:
- Press and hold the
EscandRefreshkeys together, then press the power button (while still holding the other two keys). This will reboot your Chromebook in Recovery Mode. - As soon as you see Recovery Mode pop up (the screen with the yellow exclamation point) press
Ctrl+D. This will bring up a prompt asking if you want to turn on developer mode. - Press
Enterto continue, then give it some time. It’ll pop up with a new screen for a few moments, then reboot and go through the process of enabling developer mode. This may take a little while (about 15 minutes or so) and will wipe your local information. - When it’s done, it will return to the screen with the red exclamation point. Leave it alone until it reboots into Chrome OS.
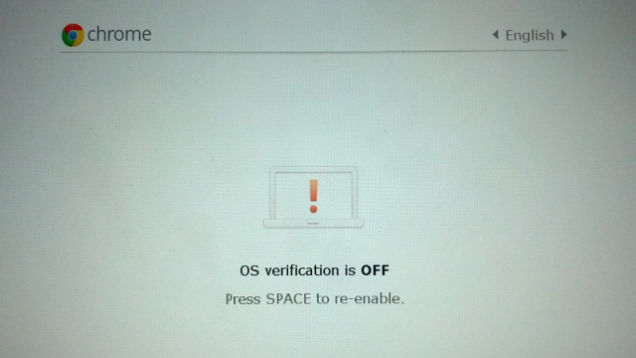
Note: After switching to developer mode, you might see this on every boot – ignore the message. You can skip it by pressing
Ctrl+D.
Before we get our hands dirty
Caret, CodePad, Quantum, Zed
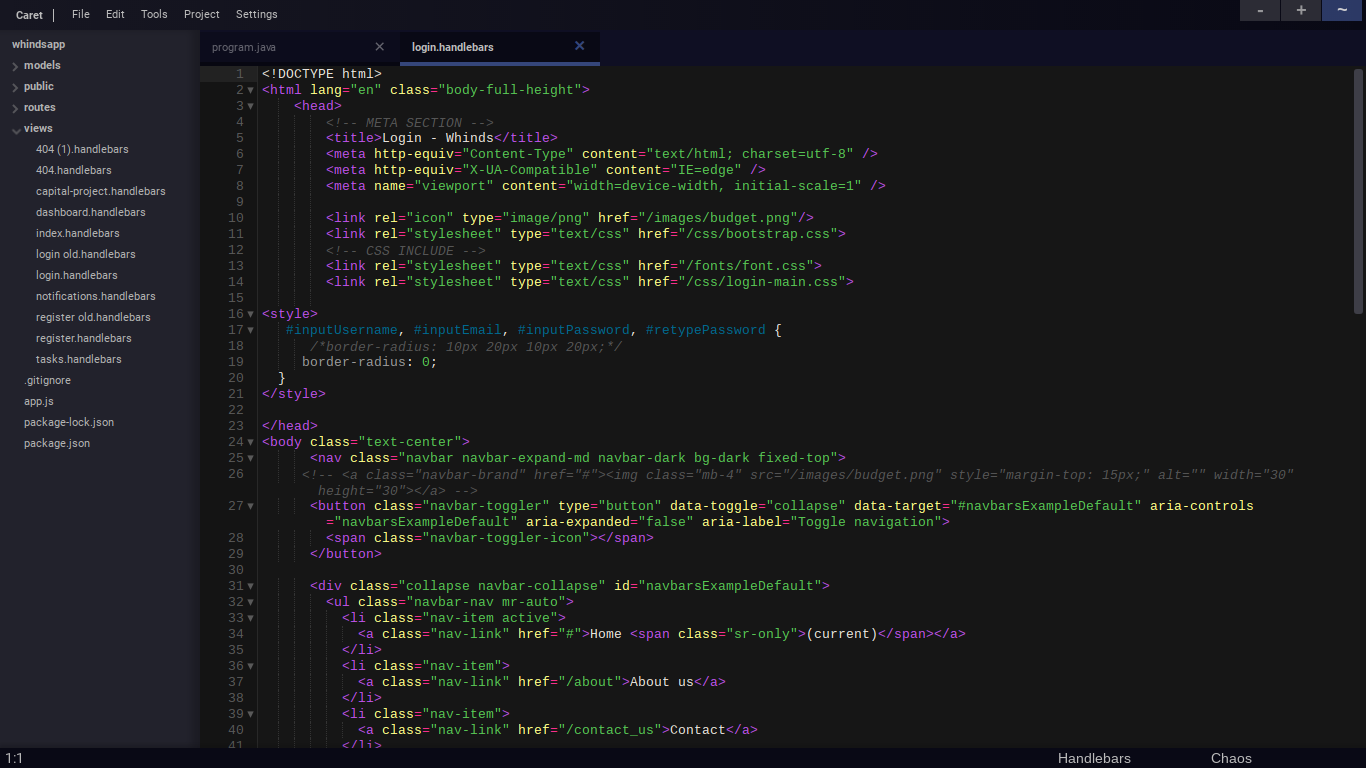
It would be worth stating that there are actually some great text editors you can download from the Chrome Web Store. Here are some of the ones I have used and liked:
Caret
CodePad
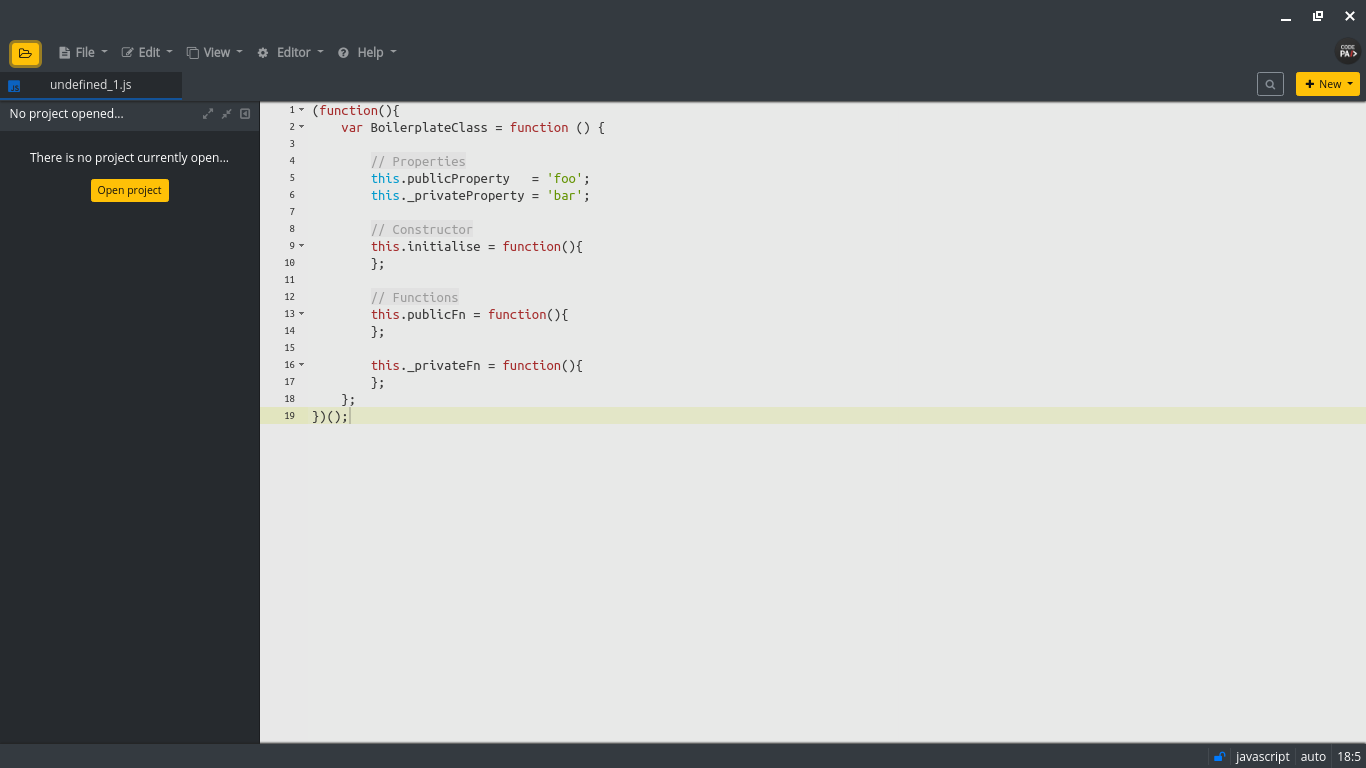
Quantum
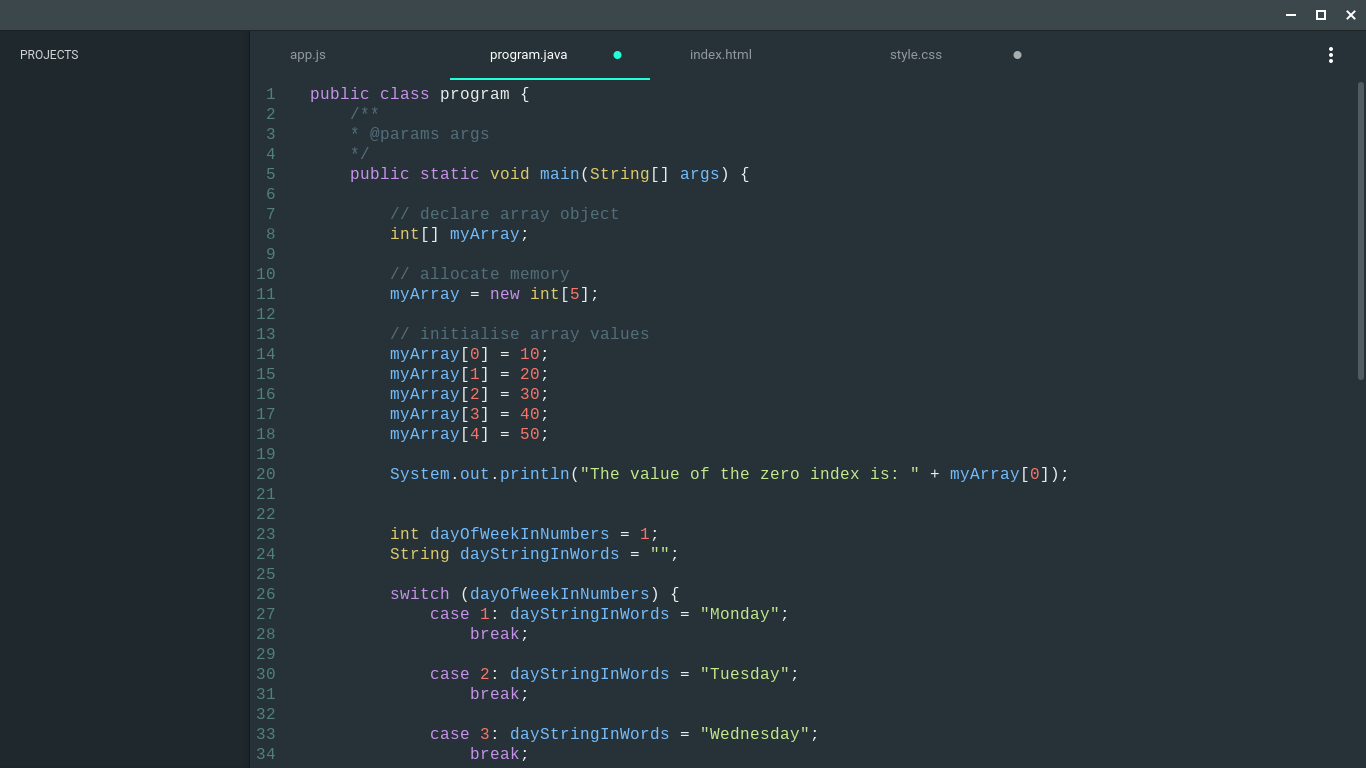
Zed
Chromebrew (Crew) — Chrome OS package manager
News flash! Chrome OS does currently not currently have a package manager like yum or apt. So, to install any app, developers have to build from the source for specific architectures.
Fortunately, Chromebrew helps to bridge this gap a little. With Chromebrew, we’re able to install popular packages like git, nano, curl, node (Nodejs), MongoDB, Python, PHP, Apache, Nginx, etc. The full package list can be found
To install Chromebrew:
Press Ctrl+Alt+T to open up Crosh, then type shell (to enter developer shell). Then type this command:
wget -q -O - https://raw.github.com/skycocker/chromebrew/master/install.sh | bash
Or
curl -Ls git.io/vddgY -o install.sh && yes | bash install.sh
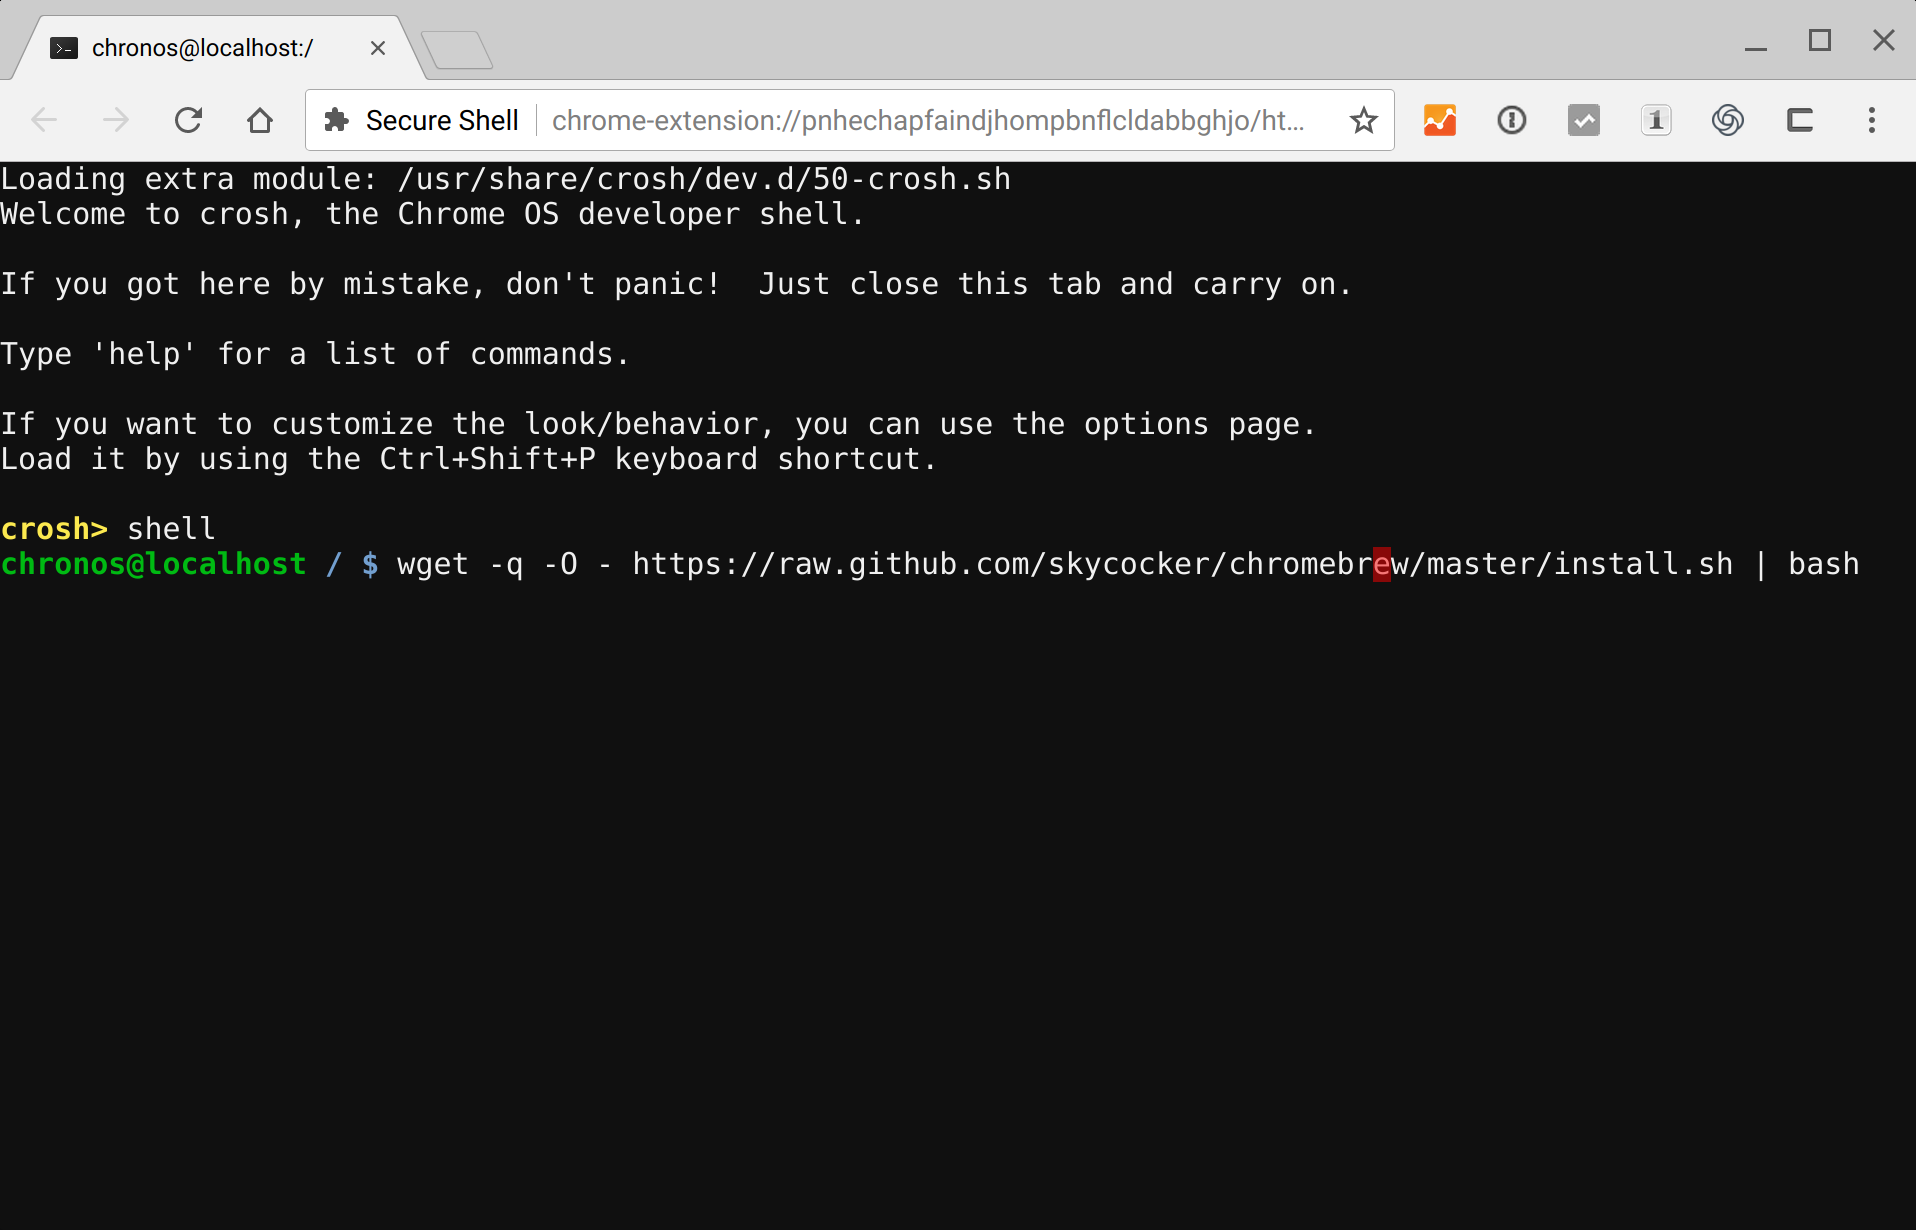
That should do the trick. To check that the installation was successful, type:
crew search
You should see a list of all the available packages.
To install a package:
crew install package_name
To remove a package:
crew remove package_name
To update all packages:
crew update
Install Linux with Crouton
- Download Crouton by clicking here and save it in your Downloads folder.
- Press
Ctrl+Alt+Tto bring up a terminal on your Chromebook. - At the Terminal, run the following command to enter a Ubuntu shell:
$ shell
- Next, run the following command to install Crouton:
$ sudo sh -e ~/Downloads/crouton -t xfce,xiwi
- If you’re doing this on a Chromebook Pixel, change it to:
$ sudo sh -e ~/Downloads/crouton -t touch,xfce,xiwi
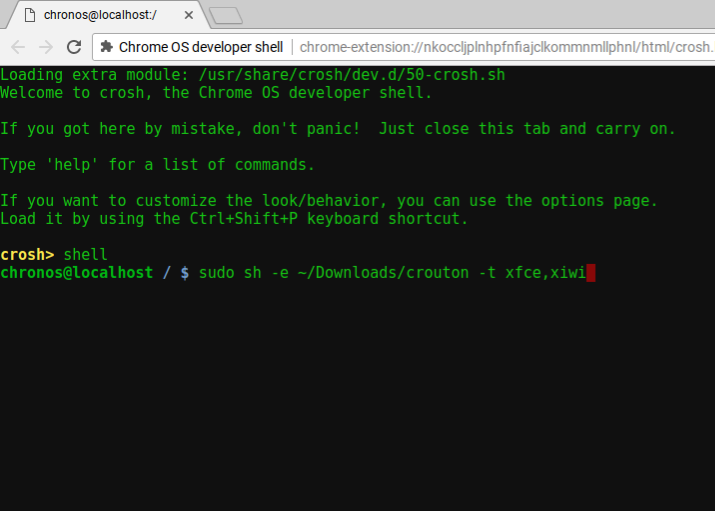
The installation process is going to take a while so you might as well see a movie while you wait.
While that’s installing, go over to Chrome Web Store and install the crouton integration extension.
Once done, you can start up an Xfce desktop session with the following command:
$ sudo startxfce4
You should see a new tab pop up:
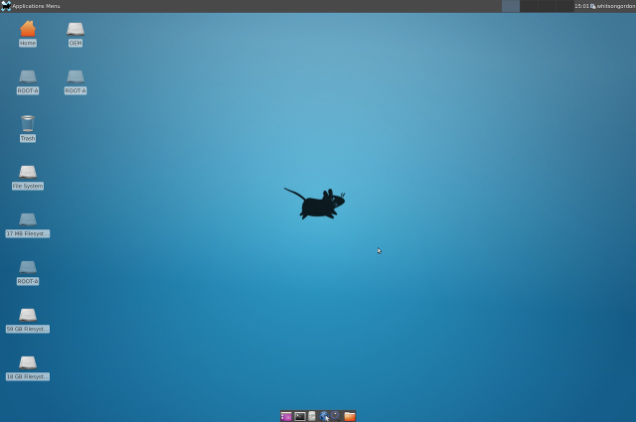
Just pretend you’re on an entirely different machine and explore the possibilities. You can log out to close the xfce4 session.
You can always use the apt package manager to install Linux related packages that Chromebrew doesn’t give you.
How about an IDE?
At this point, you can install my favorite IDE (not yours), Visual Studio Code. However, for some Chromebook architectures, the 64bit and 32bit versions don’t work.
You should now be able to run VScode in xfce4:

Specific stack?
If perhaps, you are building with JavaScript, you might want to install most of the tools and packages needed for development (especially Nodejs).
You can always install PHP and Apache web server via apt, along with all the other tools and packages needed for development.
In essence: If apt doesn’t get you a package or tool, try Chromebrew (crew).
From your shell you can always switch from a Chronos Session to Ubuntu:
# to start the chroot session
$ sudo enter-chroot


# to exit
$ exit
Cheers!! ☕️