How to use web workers in Vue applications

This post assumes that you have a basic knowledge of Javascript and Vue.
Single-threaded JavaScript
As a single-threaded programming language, Javascript can only perform a single set of instructions at a time. This means that every other process has to wait for one instruction to complete before the next process is executed. This will pose a speed problem in our web application if we were to carry out heavy processes and still wanted the user to be able to interact with our application.
For example, say we needed to calculate the return on an investment of multiple investment packages and make sure that these processes are non-blocking and do not run on the main thread so that we can perform other tasks on the main thread (like making a network request…Enter web workers).
Note: blocking refers to
. Non-blocking code, on the other hand, is asynchronous can run in serial processing Doing one thing at a time . parallel multithreaded
Web workers allow us to run processes in the background thread and notify the main thread when those processes are complete. This adds a great performance boost since we do not need to chunk everything up on the main thread.
Web workers
Web Workers are a simple means for web content to run scripts in background threads. The worker thread can perform tasks without interfering with the user interface. Once created, a worker can send messages to the JavaScript code that created it by posting messages to an event handler specified by that code (and vice versa). —
MDN https://developer.mozilla.org/en-US/docs/Web/API/Web_Workers_API/Using_web_workers
Web workers in Javascript
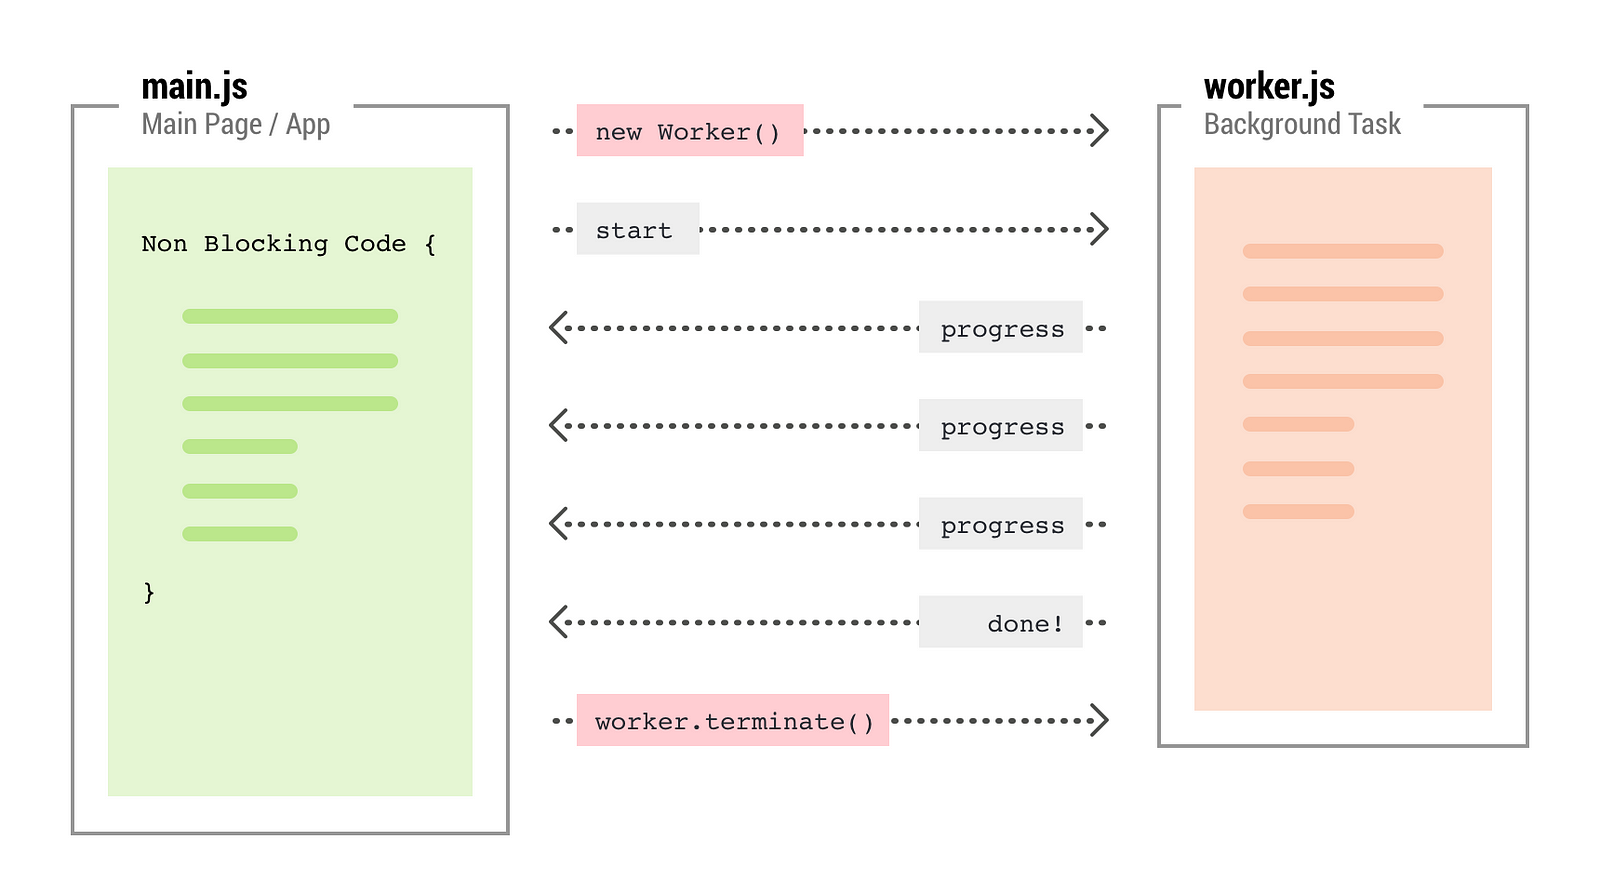
The main thread creates the worker using the “Worker” constructor – this constructor takes in a single argument, the path to the worker file. The worker file contains the code that will run in the worker thread – workers run in a global context that is different from the current window.
Data is passed between the worker and the main thread via messages — the main thread and worker thread send messages using the postMessage() method and respond to messages using the onmessage handler.
Here’s a simple example of implementing web workers in
Javascript https://github.com/MartinsOnuoha/js-webworker-example
Using Web workers in Vue
To use web workers in a Vue application, we can either use a web worker wrapper for Vue like the
Let’s set up our Vue application.
To keep it simple, I’ll use the
Application
Here we will implement the same
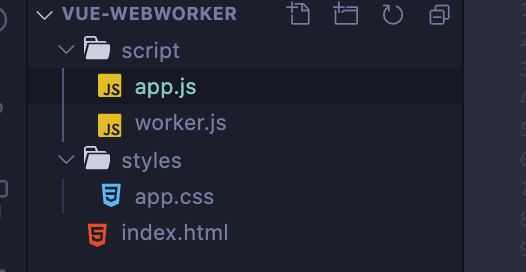
In our index.html file, we’ll structure our markup and include the vue-next CDN link, our main script file, and the mount point for vue:
<!DOCTYPE html><html lang="en"><head><meta charset="UTF-8"><meta name="viewport" content="width=device-width, initial-scale=1.0"><title>Vue-Webworker</title><link rel="stylesheet" href="./styles/app.css"></head><body><div id="app"><div class="dog-image"><img :src="dogImage" v-if="dogImage" /></div><p v-if="counter">{{ counter }}</p></div><script src="https://unpkg.com/vue@next"></script><script src="./script/app.js"></script></body></html>
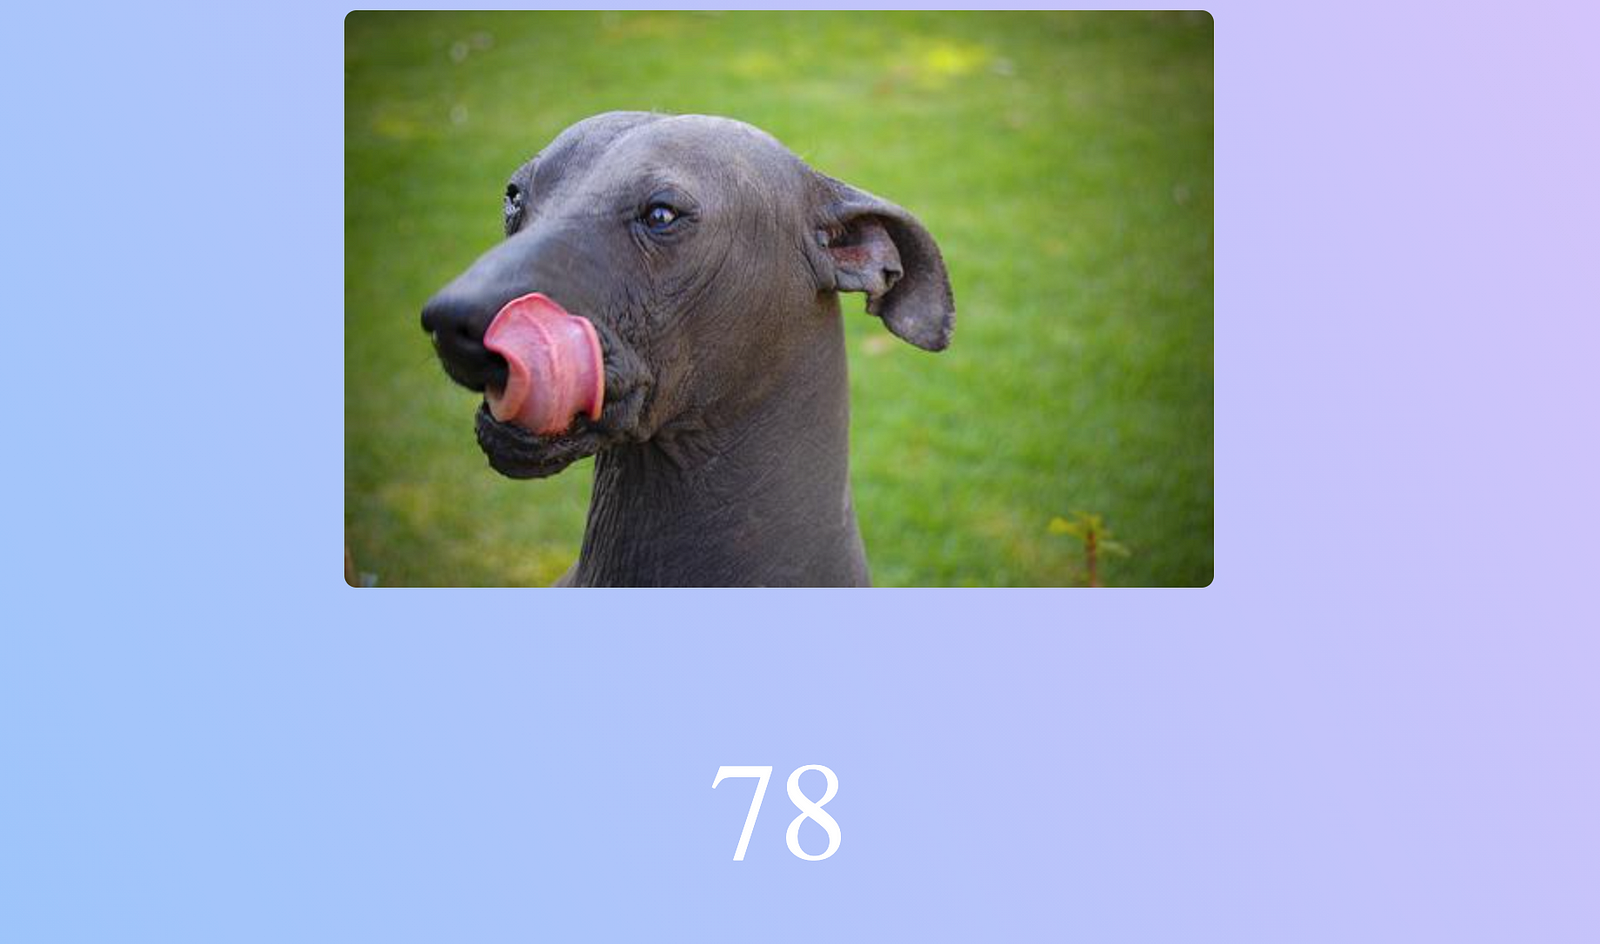
Here, we’ve imported our CSS file at the top and our scripts at the bottom. We’re also displaying a counter property from our data object when it’s available, and will render the dogImage value when available.
Next, we’ll set up our Vue app in our app.js entry file.
Because this example application depends heavily on the web workers, we first need to check that the browser supports Workers, then we can instantiate a new Worker class:
if (window.Worker) {
  const worker = new Worker('/script/worker.js')
  worker.postMessage('')

  ...
}
Next, we set up our App object:
const App = {
  ...
}
We’ll have two data properties:
const App = {
  data() {
    return {
      dogImage: null,
      counter: 0,
    }
  }
}
In our methods object, we’ll create a single method to fetch random dog images from the dog API.
  ...

  methods: {
    getDogImage () {
      fetch('https://dog.ceo/api/breeds/image/random')
        .then((response) => response.json())
        .then((data) => {
          this.dogImage = data.message
        })
      }
  }

  ...
Finally, in the mounted hook, we’ll call the getDogImage method for the first time. Then, we’ll set up an onmessage listener on our worker object to listen to updates from the worker thread. Next, we check if the counter value sent by the worker is divisible by 10; if it is, we will call the getDogImage method again:
  ...
  mounted () {
    this.getDogImage()
      worker.onmessage = (e) => {
        this.counter = e.data
        if (this.counter % 10 === 0) {
          this.getDogImage()
        }
      }
    },
  ...
We then mount the App object on the #app element:
Vue.createApp(App).mount('#app')
The entire app.js file should look something like this:
if (window.Worker) {
  const worker = new Worker('/script/worker.js')
  worker.postMessage('')


  const App = {
    data () {
      return {
        dogImage: null,
        counter: 0
      }
    },
    mounted () {
      this.getDogImage()

      worker.onmessage = (e) => {
        this.counter = e.data
        if (this.counter % 10 === 0) {
          this.getDogImage()
        }
      }
    },
    methods: {
      getDogImage () {
        fetch('https://dog.ceo/api/breeds/image/random')
          .then((response) => response.json())
          .then((data) => {
            this.dogImage = data.message
          })
      },
      showUpdate(e) {
        console.log(e)
      }
    }
  }

  Vue.createApp(App).mount('#app')
}
In our worker.js file, we’ll set up the counter logic to count up to 1000 before resetting. We will use the postMessage method to send the new counter value to the main thread, which will be received by the onmessage listener:
onmessage = (e) => {
  let counter = 0
  setInterval(() => {
    counter++

    if (counter === 1000) {
      counter = 0
    }
    postMessage(counter)
  }, 1000)
}
For a little bit of aesthetic, we’ll add some styling. Add the following within the app.css file:
body {
  background-color: #8EC5FC;
  background-image: linear-gradient(62deg, #8EC5FC 0%, #E0C3FC 100%);
}
#app {
  text-align: center;
  display: flex;
  flex-direction: column;
}
p {
  font-size: 5rem;
  color: #FFF;
}
.dog-image {
  width: 100%;
  height: 300px;
  max-height: 300px;
  margin: 0 auto;
}
img {
  object-fit: contain;
  border-radius: 10px;
}
You can start the application with LiveServer on VScode:
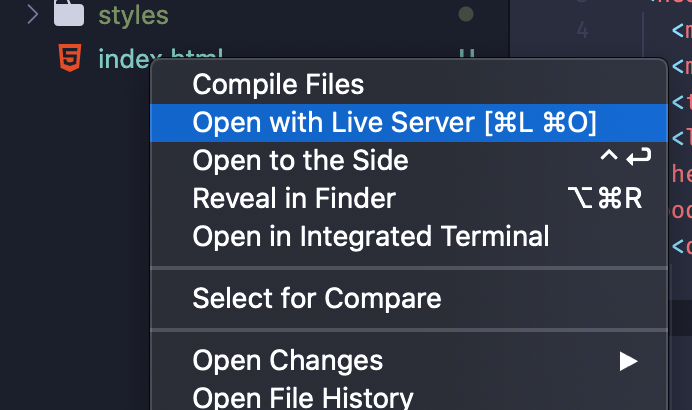
You should find the application running on port 5500.
Check out the source code of the example
. app https://github.com/MartinsOnuoha/vue-webworker-example
Cheers ☕️
Free Resources
- undefined by undefined
