Introduction to Node JS
Node JS was first written in 2009 by Ryan Dahl. It is an open-source JavaScript Runtime environment based on Google’s V8 JavaScript Engine and used to develop web and mobile applications. It is also used for building APIs as well as back-end applications.
Why Node JS?
Unlike, Apache HTTP server, the most popular server of the time, it has an asynchronous nature, a lot of libraries (due to the wide range of developers contributing to it), and is also very useful in building real-time web and mobile applications (e.g.,chatting systems).
There are other uses and advantages for using Node as an application building tool, but it would be too long of a a list to put here.
Installing Node JS
Node JS can be installed from the official Node website. By default, the website gives you the links needed to download Node for your current Operating System. It also gives you an option to download an LTS (Long-term Support) version and the current version. There is very little difference is very between the two versions and most functionalities of the are the same.
You can check the installation by opening Command Prompt (on Windows) or Terminal (on MacOS or Linux) and entering the command node --version. Let’s run the following terminal to see the output of this command:
Once you successfully installed Node JS, you are ready to use it.
Initializing Node JS project
Open the folder you want to initialize in Command Prompt or Terminal. Run the npm init command and enter the following details.
Press ^C at any time to quit.

package name: (node-js)
version: (1.0.0)
description: Node JS
entry point: (index.js)
test command:
git repository:
keywords:
author: Akkaraju Satvik
license: (ISC)
About to write to C:\Users\satvi\Desktop\Node JS\package.json:

{
  "name": "node-js",
  "version": "1.0.0",
  "description": "Node JS",
  "main": "index.js",
  "scripts": {
    "test": "echo \"Error: no test specified\" && exit 1"
  },
  "author": "Akkaraju Satvik",
  "license": "ISC"
}


Is this OK? (yes) yes
Now, the details are to be filled according to the project developer’s interests and requirements.
Let’s look into the details that need to be filled.
name – This is where you enter the name of the package/project. Note that the package/project name can only contain URL-friendly characters, no uppercase letters are allowed. By default, the name of the package is set to the folder name.
version – Here, you enter the current version of the project you’re working on. By default, the version is set to 1.0.0. If you are importing a project using git or any other version control software, you can put a different version.
description – This is where you describe the project you are working on. This helps other people to understand what the project is about.
entry point – This is where the project starts executing. index.js is the default start point of the project most of the time, but if you have a different starting point, feel free to enter the file name.
test command – The command that is run whenever you run npm test. This is important when integrating with continuous integration or continuous deployment tools.
git repository – You can import an existing repository from GitHub or BitBucket, or any other software development tool that uses git as a version control software.
keywords – Put any keywords that define and describe your project.
author – The person or organization that is developing or building the project.
license – You can add licenses to the project, such as MIT License, Creative Commons License, etc. By default, the license value is set to
All these values are set into the package.json file that defines the project’s details and dependencies. Once the initialization is done, the package.json file will look like:
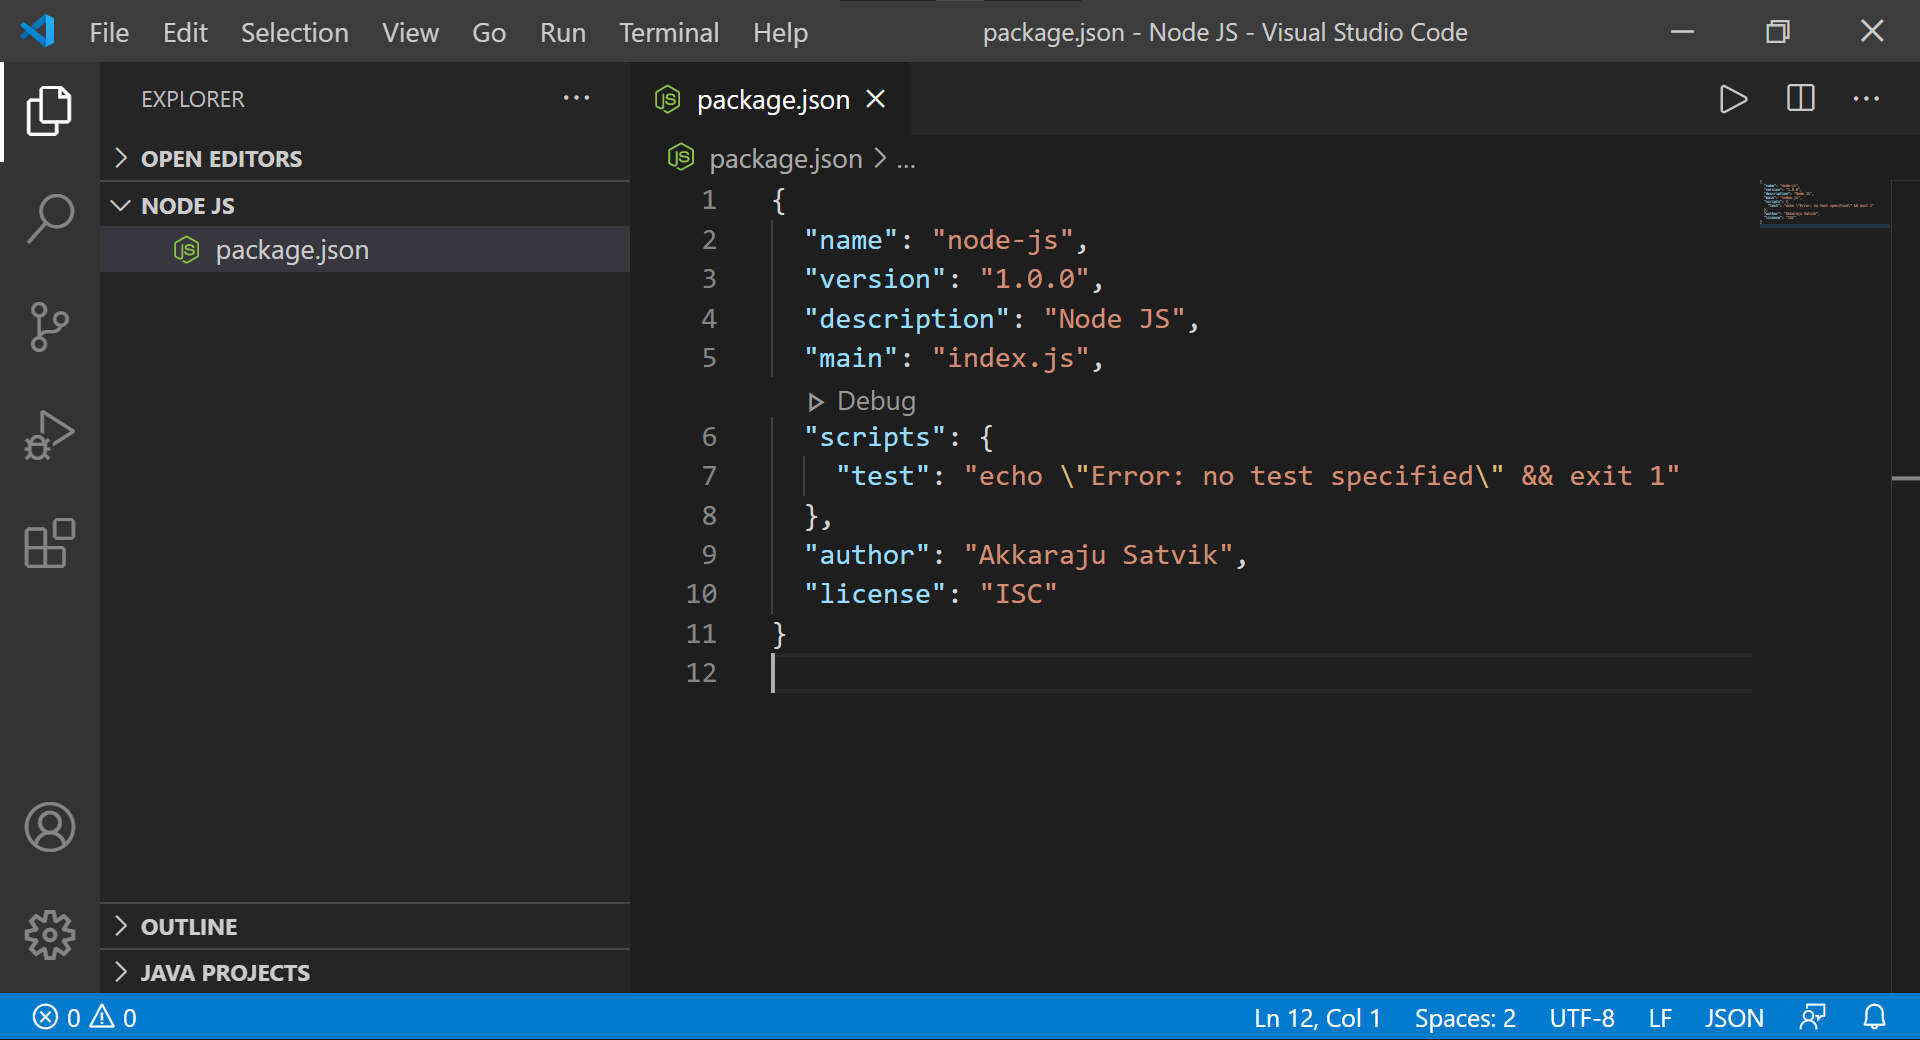
This
package.jsonfile plays an important part in running the project while hosting the project.
Let’s run the npm init command in the following terminal and enter all the aforementioned details to get the hands-on experience.
Now your node project is all set to be developed!
Free Resources
